A Very Personal Gift – Life Map
Step 1 – The Intention. The process is intended to express gratitude for the journey travelled so far and to serve as a reminder of meaningful activities. Life-changing experiences, resources, and sources of meaning and strength also have their place in a Life Map.
Step 2 – Coaching in Positive Psychology. In three longer sessions, the content is worked out. I receive a detailed brief with the elements to be drawn.
Step 3 – The Aesthetic Project.
The client likes the “pen aesthetic” with a sepia background, similar to old maps. She wants to create a certain lightness through fine lines. Her desired colour palette consists of earthy tones and natural colours.
Step 4 – The Templates. I receive plenty of templates: photos for the motifs and inspirations for the style.
Step 5 – The Pencil Draft with Handwritten Text. I develop my proposal for the composition. The pencil motifs are to serve later as templates for the pen strokes. The texts come from the client’s brief; now I ensure they appear balanced in the layout. The legend in flowing handwriting is inspired by old geographical maps.
Step 6 – First Feedback Loop. I implement the changes the client wishes for the motif details. One eraser stroke and suddenly the face, body posture, or object looks different. We now get a first impression of the final result.


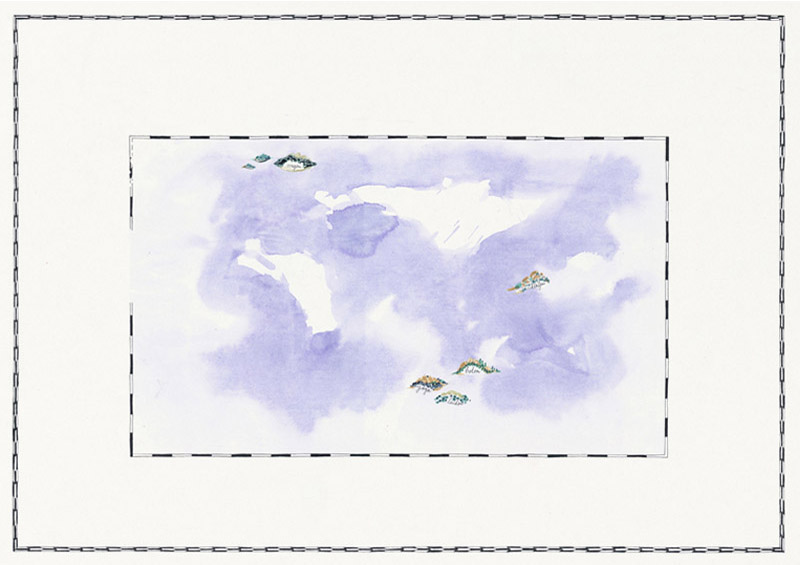
Step 7 – Starting the Final Drawing. I like to place the frame first. This is the setting in which everything takes place. The borders of the map are meticulously hand-drawn, with maximum focus on regular, recurring geometric shapes.
Step 8 – The Final Drawing. Now it really begins! With joyful concentration, I draw continents, animals, boats, and coats of arms in the centre of the map – with a pen and coloured ink. For lines and texts, I use black or sepia ink. I approach this stage with respect. This is where the final forms and lines emerge. The overall impression should be delicate, strong, round, or straight at the appropriate places.
Step 9 – Second Feedback Loop. The client can now note further details she would like differently. I implement them. And… are we finished? It looks like we are!


Step 10 – Reflection. The drawing appears surprisingly light. I accept the sometimes cheeky process, which constantly offered me new surprises to solve. On a content and aesthetic level, countless small decisions were made, often after much trial and error and reflection. We do not see this here – what a relief!
Step 11 – Fine Art Print. I send the file to the Fine Art printer. On-site, fine adjustments are made so that black and colours are printed as desired.
Step 12 – Framing. The decision falls on fine black mouldings and anti-reflective museum glass with UV protection. The passe-partout colour is chosen according to the “six-eyes principle”…